Abstract: Creating skins is an important part of designing the world in My World. It involves using colors, textures, shapes, and other elements to create a unique look for any object in the game. This article provides a step-by-step guide to creating skins in My World, from selecting a template to exporting your finished work.
Creating skins for your world in My World is a lot of fun, and its also an important part of world-building. Skins give your creations their own unique appearance, adding visual interest and setting them apart from the crowd. The process of creating skins in My World includes selecting a template, changing colors, textures, and other elements, and then exporting the finished product. This guide will help you get started making your own skins in My World.
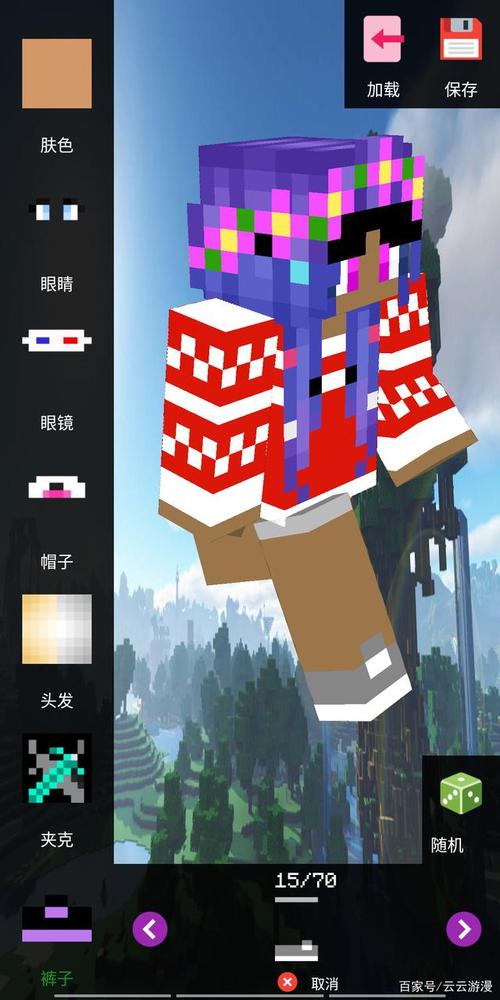
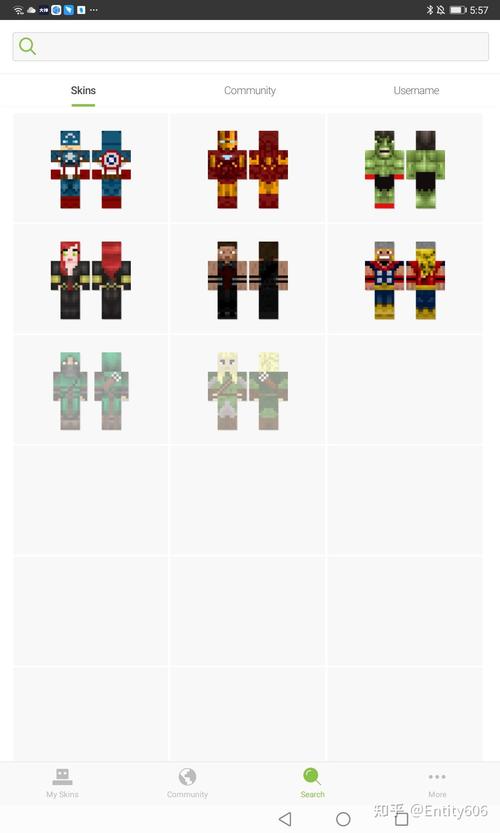
Step 1: Select a Template. The first step in creating skins in My World is to select a template. There are several different templates available, each with its own unique set of elements and features. The template you select will determine how the finished skin will look. You can easily pick the template that best suits your needs by scrolling through the list of options and previewing each one.
Step 2: Change Colors, Textures, and Other Elements. Once youve selected a template, the next step is to customize it by changing colors, textures, and other elements. To do this, select the object you want to customize, then click on the “Skins” tab in the menu bar at the top of the screen. From here, youll be able to adjust the colors, textures, and other elements of the object. For example, you can change the color of the objects body, or add a texture to the surface.
Step 3: Test the Skin. Before you export the skin, its a good idea to test it out to make sure it looks the way you want it to. To do this, you can use the “Preview” tab in the menu bar. This will allow you to see what the skin looks like without actually having to apply it to the object. If youre happy with the results, you can then proceed to the next step.
Step 4: Export the Skin. Once youve tested the skin and are satisfied with the results, you can export it by selecting “Export” from the menu bar. This will open a window where you can choose the file type and size that you want to save the skin as. When youre finished, simply click “Save” and your skin will be exported as a file that can be applied to your objects in My World.
Conclusion: Making skins in My World is a great way to customize your objects and give them a unique look. Following the four steps outlined above, you can easily create and export your own skins. From selecting a template to exporting your finished work, creating skins in My World is both fun and easy.
原创文章,作者:小白,如若转载,请注明出处:http://www.xsdlxm.com/show_2369.html
相关推荐
-
如何增强我的世界卡顿(如何增强我的世界卡顿感)
要想有效解决游戏卡顿的问题,首先应检查计算机是否具备稳定的运行环境,这条也是最重要的一条。首先要确保电脑上的软件和硬件能够稳定的运行,而对于资源占用有一定要求的游戏而言,性能更好的设备能够更好的支持...
-
如何在我的世界传送在村庄(如何在我的世界传送在村庄中)
要在我的世界游戏中传送到村庄,首先,玩家必须创建一个村庄,这可以通过打开“我的世界”菜单,然后选择“创建新世界”来实现。在“新世界”页面上,玩家可以看到一系列不同的设置选项(包括世界大小,时光模式,...
-
如何在我的世界传送别人(如何在我的世界传送别人的存档)
传送这个功能可以让游戏中的玩家们在不同的屋子里迅速地传送木材、矿石、物品等。需要注意的是,当你在传送别人的时候,你需要有一个传送盒,并将其放在要传送到的地方,然后再打开传送键,在此之后,玩家将会被传...
-
我的世界1.8怎么传送(我的世界1.8怎么传送指令)
《我的世界》中的传送是指通过使用特定的指令,让玩家和独立物体在虚拟世界中改变位置的行为动作。在《我的世界1.8》中,玩家可以使用/setworldspawn指令将原来的出生点设置成另外一个地方,也可...
-
如何制作我的世界屋子教程(如何制作我的世界屋子教程图片)
步骤一:准备好所需要的材料。制作你的世界屋子时,一定要先准备所需要的材料,可能包括木头、木棒、粘土、锚钉、钉子、金属片、金属棒、板材、衣架和灯具等。...
-
如何设置我的世界的账号(如何设置我的世界的账号登录)
首先,你需要访问官方网站Minecraft.net,然后点击注册新账号按钮。接下来,你需要输入一些信息,包括你的用户名和密码、生日、性别。在完成这项工作后,你可以去下载Minecraft的客户端,这...
-
如何克隆我的世界模组下载(如何克隆我的世界模组下载安装)
首先,想要下载和安装世界模组,必须先搜索和定位相应的模组。此时可以上网浏览一些收费及免费的模组网站,获取可用的模组信息,例如:GitHub、Nexus Mods、Minecraft Forum等。存...
-
如何制作钟表我的世界视频(如何制作钟表我的世界视频教学)
要想制作钟表我的世界视频,第一步就是选择合适的软件。一般来说,用Adobe After Effects(简称AE)来制作钟表我的世界视频比较方便,但要求电脑必须安装有AE软件。AE是一款非常强大的视...
